If you run a zero turn with a 54 inch deck, you already know the stock blades are fine for a flat yard mowed every week. The trouble starts when the grass gets ahead of you, or when you are cutting St. Augustine and Bermuda that is thick enough to leave windrows. That is the job a high lift set is built for, and swapping them is a straight afternoon job you can do in the driveway with a jack, a socket, and a torque wrench. I have been a service tech for over 20 years, and I have replaced more zero turn blades than I can count. Here is the way I do it on my own 54 inch zero turn at home.
The set I put on my mower is the UDC Parts 532187256 high lift blade set, which fits the Husqvarna 5-point star spindle pattern. UDC Parts makes a solid aftermarket blade, and the high lift wing is what changes how the deck handles thick grass. Before you buy anything, check your deck for the spindle pattern and the blade length, because a 54 inch deck usually takes three blades and the star pattern has to match your spindles exactly.
Start with a high lift set that fits your 54 inch deck
The UDC Parts 532187256 high lift blades match the Husqvarna 5-point star spindle pattern and are ready to bolt on. Check your deck size and spindle pattern first, then grab a set before you pull the deck.
Amazon Check Today's Price on Amazon →Step 1: Park on Level Ground and Block the Mower
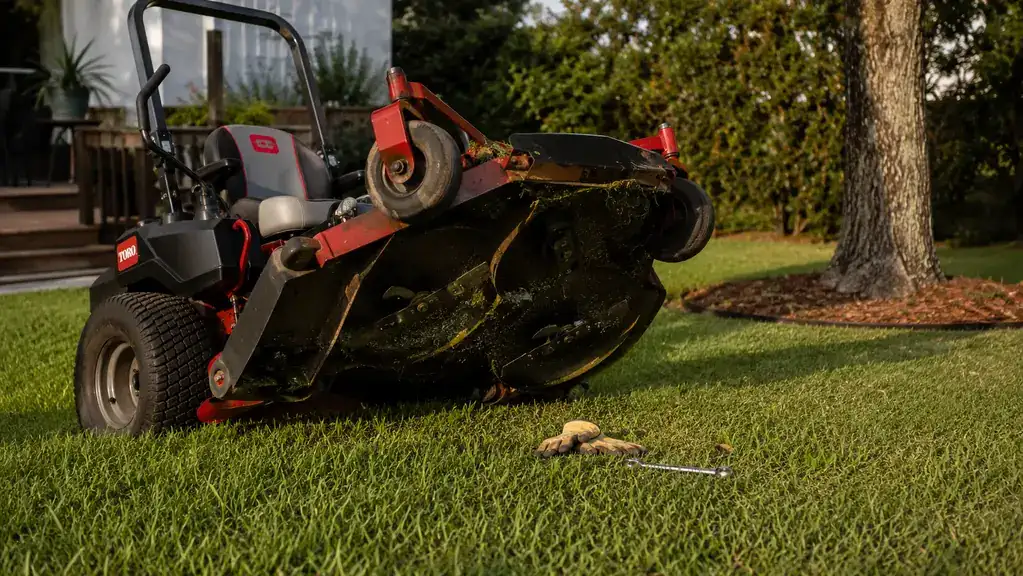
Park the mower on concrete or packed gravel, not grass. You need a flat surface so the deck does not shift when you lift it, and you need room to kneel beside the machine. Set the parking brake, pull the key, and give the engine a few minutes to cool if you have been mowing. The blades and the muffler hold heat longer than you expect. I learned that the hard way one July afternoon when I pulled a blade off a machine that had been running ten minutes earlier and the spindle nut was still too hot to hold comfortably.
Chock the front wheels front and back. A zero turn can roll even with the brake set, and you do not want 800 pounds of mower moving while your hand is under the deck. I keep a couple of 2x4 blocks in the garage for exactly this. If you have a floor jack, this is the time to get it ready, because the next step goes faster with the front end raised. On my mower at home I also pull the deck engagement switch into the off position and double check that the key is in my pocket, not sitting on the seat where a bump could land on it.
Step 2: Raise the Deck and Remove the Old Blades
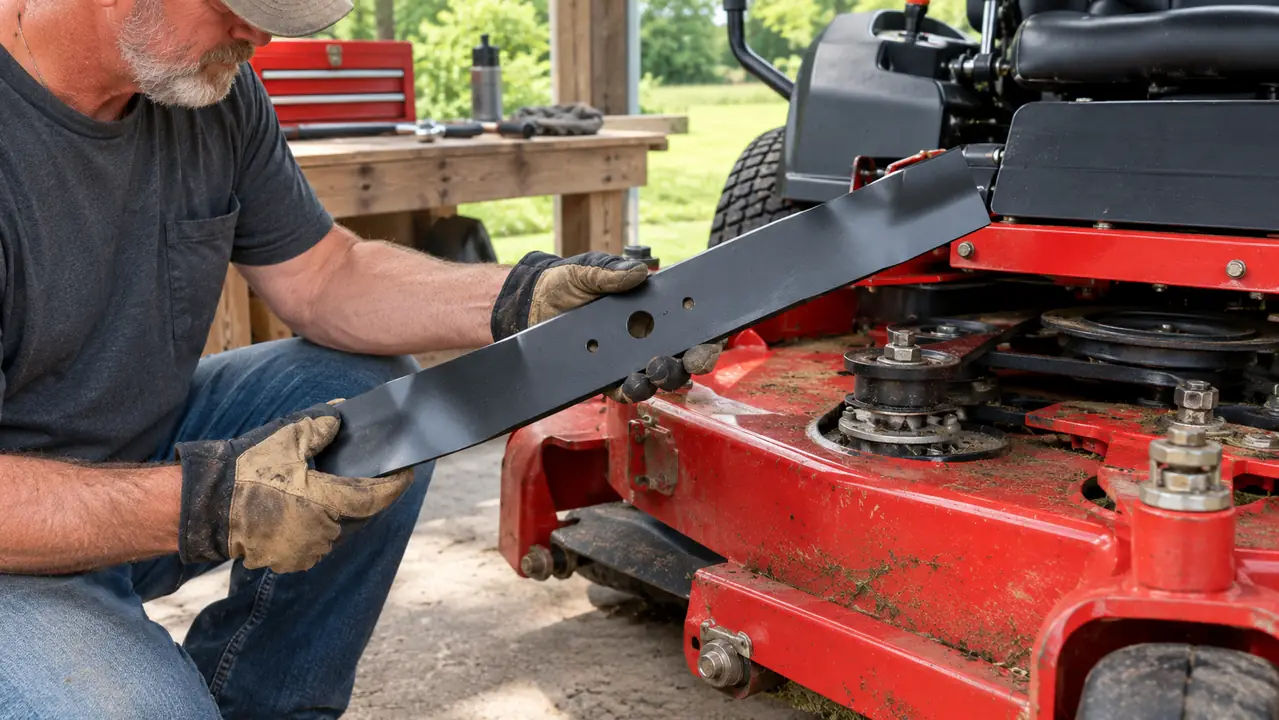
Raise the deck to its highest setting, then support it with a jack stand or a solid block. Do not trust the deck lift lever to hold the deck while you are under it. On my mower at home I use a floor jack under the deck frame and a jack stand as a backup, because a deck that drops while you are wrenching on a blade is a good way to lose fingers. I have seen the lever slip on a customer's machine after the linkage wore a little, and it is not a risk worth taking.
With the deck supported, put a socket on the spindle nut and break it loose. The nut is usually 15/16 inch or 1 inch, depending on the spindle, and it is on tight. Use a breaker bar if you need to. The blade will spin as the nut breaks free, so hold the blade with a gloved hand or wedge a block of wood between the blade and the deck housing to keep it from turning. On the first blade I did at home, the nut was so tight that I had to put a length of pipe over the breaker bar for extra leverage, and the blade still tried to spin until I wedged a 2x4 against it.
Once the nut is loose, slide the blade off the star pattern and set it aside. Look at the old blade before you throw it away. If the cutting edge is rolled over or the blade is bent, that tells you something about how you are mowing. A rolled edge means you are hitting dirt or rocks, and a bent blade means you hit something solid. Fix the cause before you put new blades on, or you will just ruin the new set the same way. I keep a magnet tray under the deck when I do this job, because the small washers and spacers that sit between the blade and the nut are easy to lose in the grass.
Step 3: Check the Spindles and the Blade Mounting Area
With the blades off, this is the cheapest moment to check the spindles. Grab each spindle and try to move it up and down and side to side. A little rotation is normal, but any up-and-down play means the bearings are going. If a spindle feels loose, replace it now. A spindle that fails at speed can throw a blade, and that is not something you want to learn about while you are mowing. Last spring I caught a front spindle on my own mower with about an eighth of an inch of play, and replacing it in the garage took me an afternoon. Letting it go would have meant a much bigger repair bill and a ruined set of blades.
Also check the blade mounting area for cracks, especially around the star pattern and the nut boss. Hairline cracks are hard to see on a dirty deck, so wipe the area down with a rag and look in good light. If you see a crack, do not bolt a new blade onto it. The deck is telling you it needs attention before it costs you a blade or worse. I use a flashlight and run my thumb along the metal around the star pattern, because a crack you can feel is a crack that is already spreading.
Step 4: Mount the New High Lift Blades
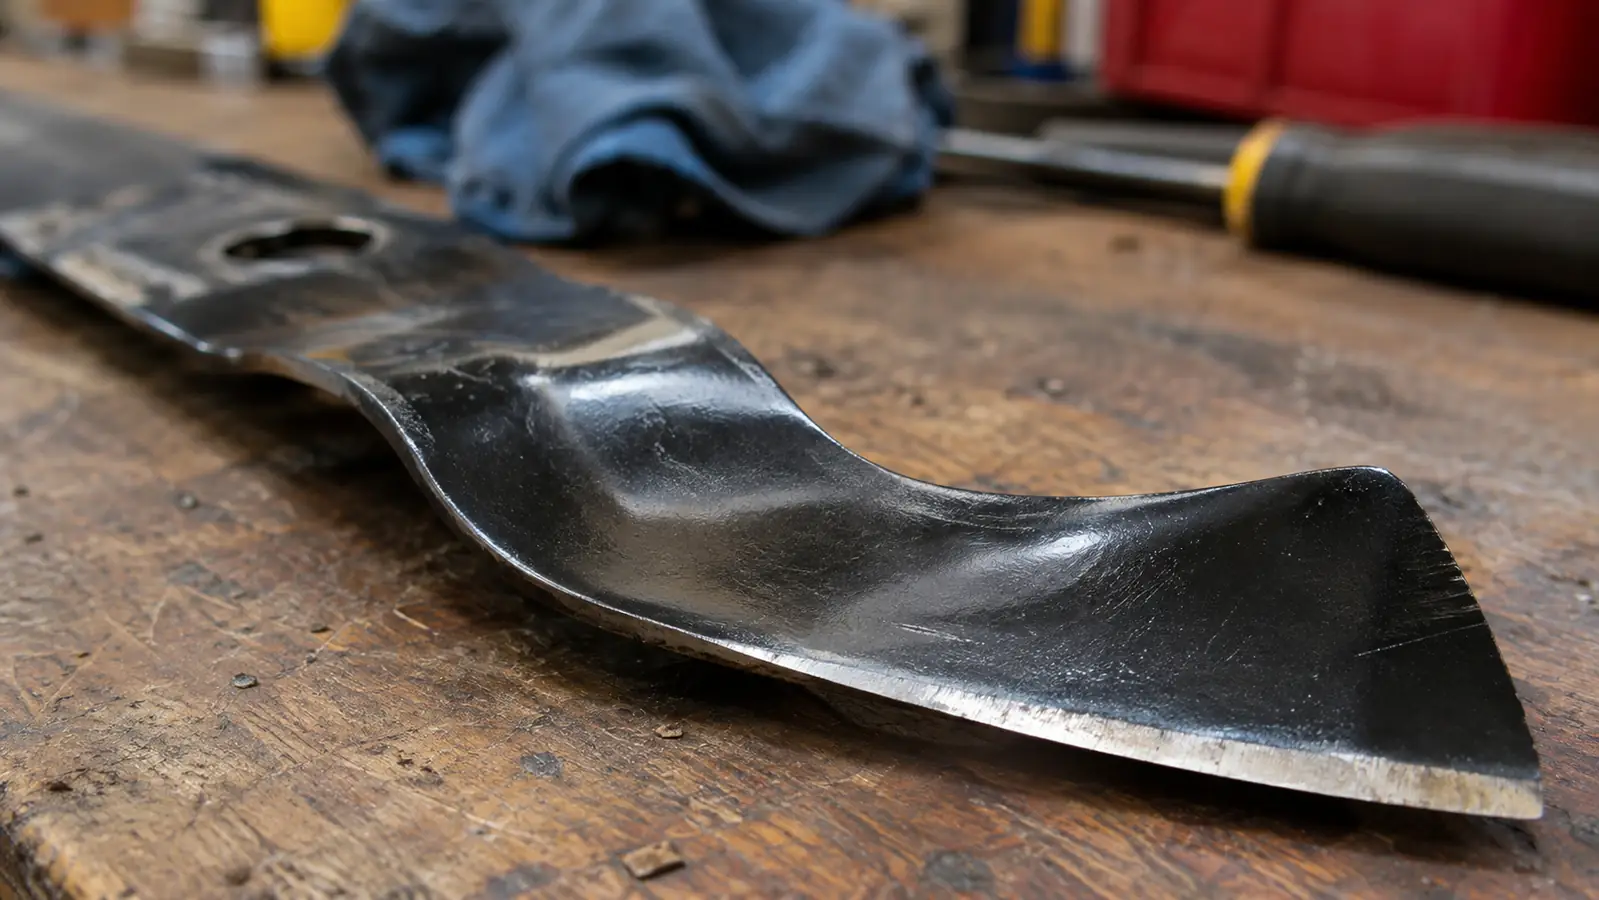
Take one of the UDC Parts high lift blades out of the box and look at the orientation before you bolt it on. The high lift wing is the curved lip near the cutting edge, and it has to face up toward the deck. If you mount it upside down, the blade will not lift the grass, it will just beat it, and you will wonder why the cut looks worse than before. I have had customers bring a mower in with the blades on upside down, and the deck was leaving a stripe of flattened grass down the middle of every pass.
Slide the blade onto the star pattern, making sure it seats fully. The 5-point star has to line up clean, and if it does not seat, do not force it. Put the nut on and snug it by hand, then torque it to the spec in your owner's manual. On most 54 inch decks that is somewhere in the 70 to 90 foot-pound range. If you do not have a torque wrench, get one. A loose blade will work its way off, and a blade that comes off at 3,000 rpm is a missile. I torque mine to 80 foot-pounds and then give each nut a second pass in the same order I tightened them, so the load settles evenly across the star pattern.
Repeat for the other two blades. Keep the hardware with each blade, and do not mix old and new nuts if you can avoid it. The old hardware is fine to reuse if the threads are clean, but new blades deserve new hardware if the kit includes it. I lay the three blades out on the workbench in the order they come off the deck, left, center, right, so I do not mix up which star pattern goes where. On a 54 inch deck the center blade and the outer blades are usually the same length, but it still pays to keep them straight.
Step 5: Lower the Deck and Test the Cut
Lower the deck off the jack stand, remove the chocks, and start the mower. Run it for a minute at low speed to make sure nothing is rattling or hitting the deck. Then take it out to the yard and cut a strip in the thickest grass you have. Listen for the blades to sing, and look behind you for the discharge. A high lift blade should throw clippings out the chute in a steady stream instead of leaving a pile under the deck. The first time I ran the UDC Parts set on my own mower, I cut a strip of Bermuda that had gone about ten days between mowings, and the difference in the discharge was obvious within the first pass.
After the first cut, stop and check the blade nuts again. New blades seat into the star pattern and the nuts can settle a few foot-pounds. Re-torque them once, and then check them again after a couple of hours of mowing. That is the habit that keeps a blade from coming loose at the worst possible time. I keep a torque wrench hanging on the pegboard in my garage right next to the mower, because if it is easy to grab, I will actually use it.
What Else Helps
A high lift blade only works as well as the deck it rides on. Keep the underside of the deck clean, because a thick layer of packed grass will kill the lift no matter how new the blades are. Sharpen the new blades after every 8 to 10 hours of cutting, and balance them before you put them back on. A blade that is out of balance will vibrate the spindles and wear the bearings out early. I use a bench grinder and a blade balancer at the shop, and I do the same at home on the workbench in my garage. On a 54 inch deck, I also check the deck belt while I have the deck raised, because a worn belt will rob the spindles of speed and make even a new high lift blade cut like a dull one.
If you are cutting wet grass, high lift blades will still clog a deck faster than low lift blades, because they are pulling more air. That is not a defect, it is the tradeoff. Run them when the grass is dry and you will see the difference in how the clippings discharge. And if you are bagging, high lift blades are usually the right call, because the extra air is what pushes clippings up into the bag. On my own yard I run the high lift set from late spring through early fall, then switch back to a standard set for the last couple of cuts of the year, when the grass has slowed down and I do not need the extra lift.
A blade that comes off at 3,000 rpm is a missile. Torque the nuts to spec, then check them again after the first cut.
Bolt on a set that lifts the grass instead of beating it
The UDC Parts 532187256 high lift blades fit the Husqvarna 5-point star pattern on 54 inch decks. If your deck matches, this is the set I would put on before the grass gets ahead of you.
Amazon Check Today's Price on Amazon →