
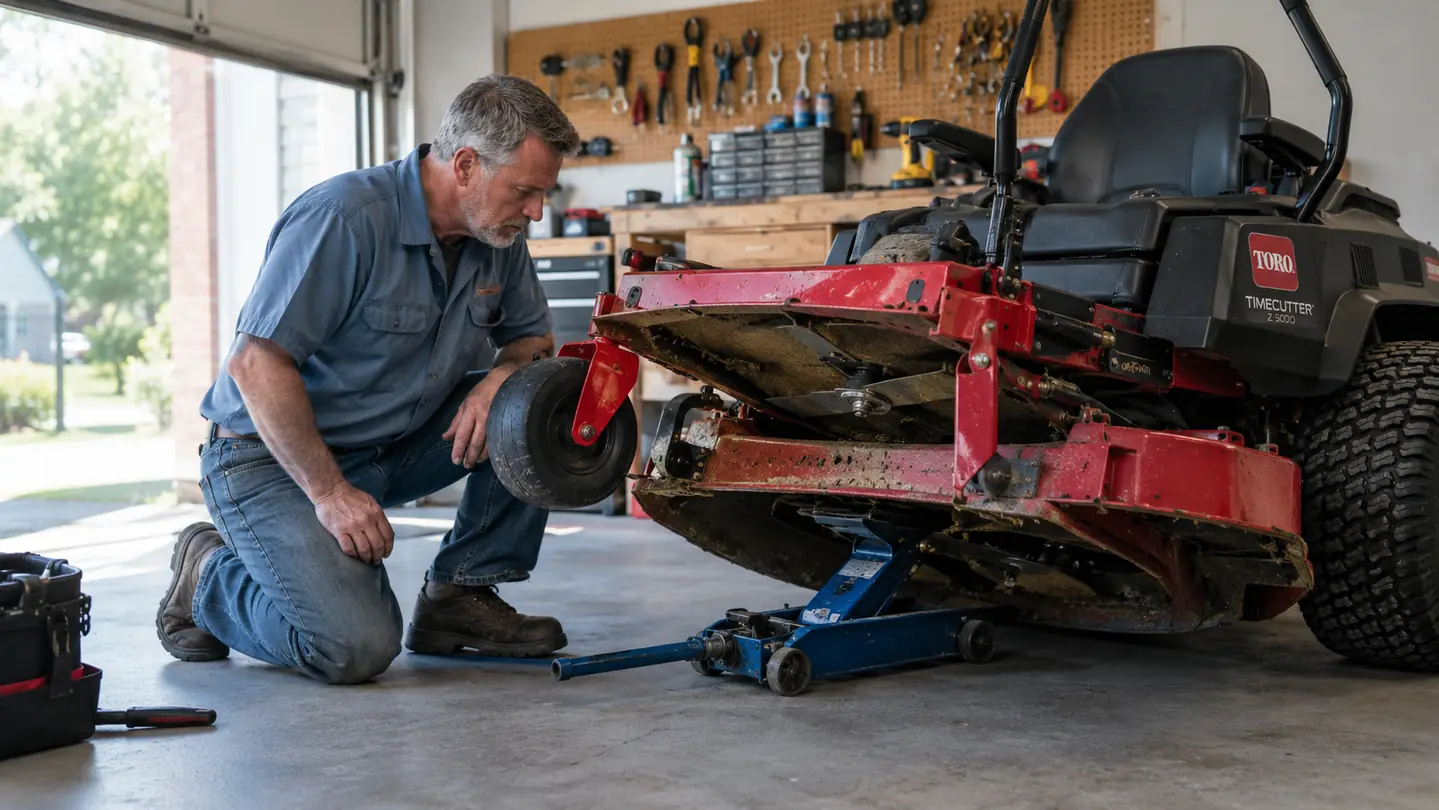
If you own a zero turn, you already know the part of mowing season nobody talks about. The part where you have to get under the deck. Blades need sharpening, spindles need grease, belts wear out, and all of it lives in a space that is roughly a foot off the ground. For years, the standard answer was to tip the mower on its side or block it up with whatever was lying around the shop. I did that for a long time, and I have the scars to prove it. Then I started using a MoJack EZ MAX lift jack at the dealership, and eventually bought one for my own 54 inch zero turn at home. This is the exact routine I run through now, start to finish.
I am Gene Holcomb. I have spent over 20 years on the service bench at an outdoor power equipment dealership in East Texas, and I still do my own mower work at home in a two-bay garage. What follows is the five-step deck service I run on my own mower, the one I would walk a customer through at the counter. If you have a lift jack, this is a 20 minute job. If you do not, you will spend most of that time fighting the mower instead of working on it.
Raise the deck, skip the back pain
The MoJack EZ MAX lifts up to 450 lb, which covers most residential zero turns and tractors. It is the same tool I use on the shop floor, and the one I keep in my garage at home.
Amazon Check Today's Price on Amazon →Step 1: Set Up on Level Ground and Chock the Tires
Before the jack touches the mower, get the mower on flat, level concrete. I use the garage floor at home and the service bay at work. Dirt or gravel sounds fine until the jack settles an inch mid-job and you are suddenly holding a spinning blade with one hand. Level ground is not a suggestion, it is the whole safety argument for doing this properly.
Chock the front tires front and back, set the parking brake, and make sure the deck is in its lowest position. I also pull the key and put it on the workbench. It takes two seconds and it removes the one thing that can turn a routine service into a trip to the ER. The MoJack EZ MAX has a wide base and a locking mechanism, but it is a lifting tool, not a substitute for common sense.
One more thing before you lift: give the mower a quick once-over. Look for leaking hydro lines, cracked belts, or a deck that is caked with wet grass. You are about to have the underside at eye level, which is the best view you will get all season. I keep a flashlight on the bench and use it every single time. Last spring I caught a hydro line that was weeping fluid before it ever dripped on the garage floor, and that ten second look saved me from a much bigger mess later.
Step 2: Position the Jack and Lift to Working Height
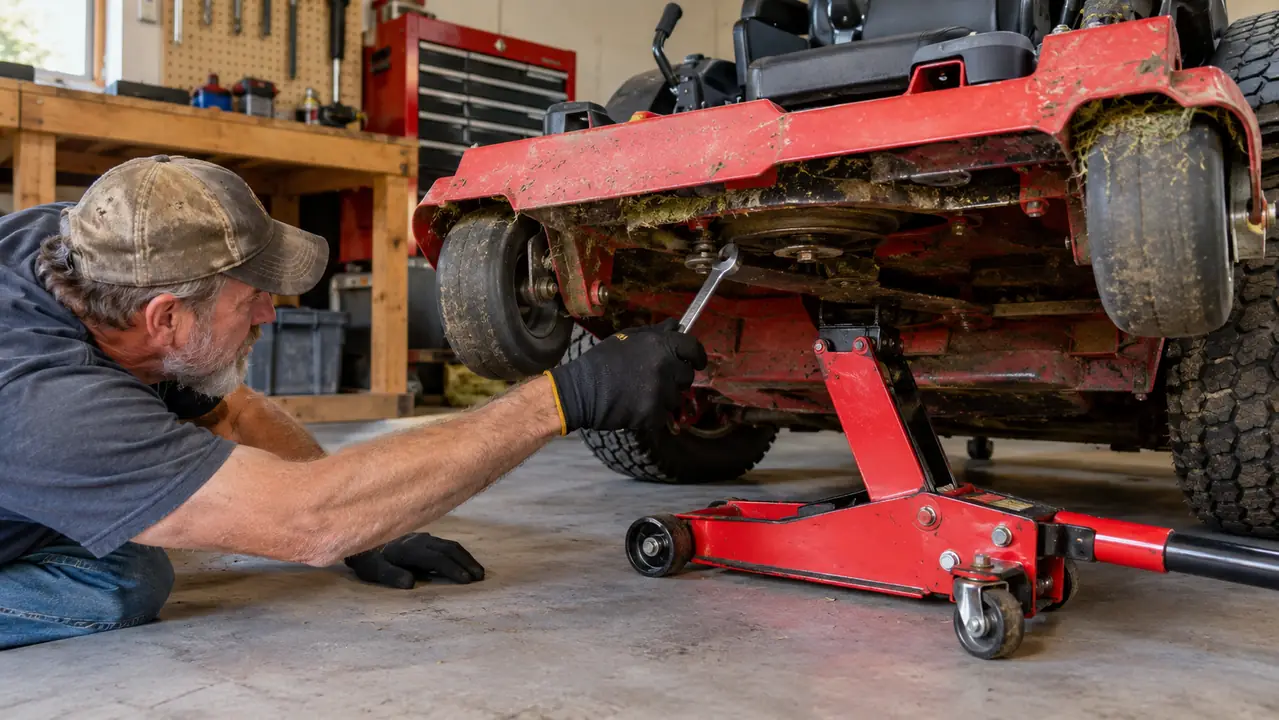
Roll the MoJack EZ MAX under the mower from the front or the side, depending on which end of the deck you need to reach first. The lift arm goes under the front axle, and you want it centered so the weight is balanced. On my 54 inch zero turn, I center the lift arm under the front axle so the frame carries the load, never the deck shell. That gives me full access to the blades, spindles, and belt without the mower feeling tippy.
Turn the crank until the deck clears the ground by a few inches, then stop and check that the arm is still centered under the axle. It should be sitting flat against the deck with no gap. If it looks off, lower it and reposition. I have seen guys skip this check and end up with a bent deck shell or a jack that walks out from under the mower mid-job. It takes ten seconds to verify and it is the difference between a good lift and a bad one.
Raise it to a comfortable working height. For me, that is high enough to sit on a rolling shop stool and reach everything without my shoulders screaming. The EZ MAX locks with a spring pin at each safety hole on the tower, so once the pin clicks in I can let go of the crank and keep both hands on the deck. Once it is where I want it, I engage the lock and give the mower a gentle push to confirm it is stable. On my mower, that working height works out to about 18 inches of clearance under the deck, which is plenty for a stool and a grease gun.
Step 3: Pull the Blades and Sharpen or Replace Them
With the deck up, the blades are right there. I use a 15/16 inch socket on an impact wrench to break the bolts loose, then finish by hand so nothing drops. On my mower, the blades come off with the deck still on the jack, which is the whole point. No crawling, no tipping, no holding a 20 lb deck up with one knee while you fight a rusted bolt.
I sharpen with a bench grinder, the same one I have used for years. The trick is to keep the original angle and take off the same amount from each blade. I check the balance by hanging each blade on a nail or using a blade balancer. A blade that is out of balance will vibrate the spindles and, over time, wear out the bearings. If a blade is bent, nicked deep, or worn down to less than half its width, I replace it instead of sharpening it. New blades are cheap compared to a spindle job.
While the blades are off, I check the spindles. Grab each one and try to move it up and down. If there is play, the bearings are going. I also look for grease fittings and give them a pump if the deck has them. This is the kind of maintenance that never gets done on a tipped-over mower, because nobody wants to crawl under there with a grease gun. With the deck at waist height, it takes two minutes. I found a bad spindle bearing on the right side of my deck this way back in June, and catching it early meant I only had to replace the bearing, not the whole spindle housing.
Step 4: Inspect the Belts and Idlers
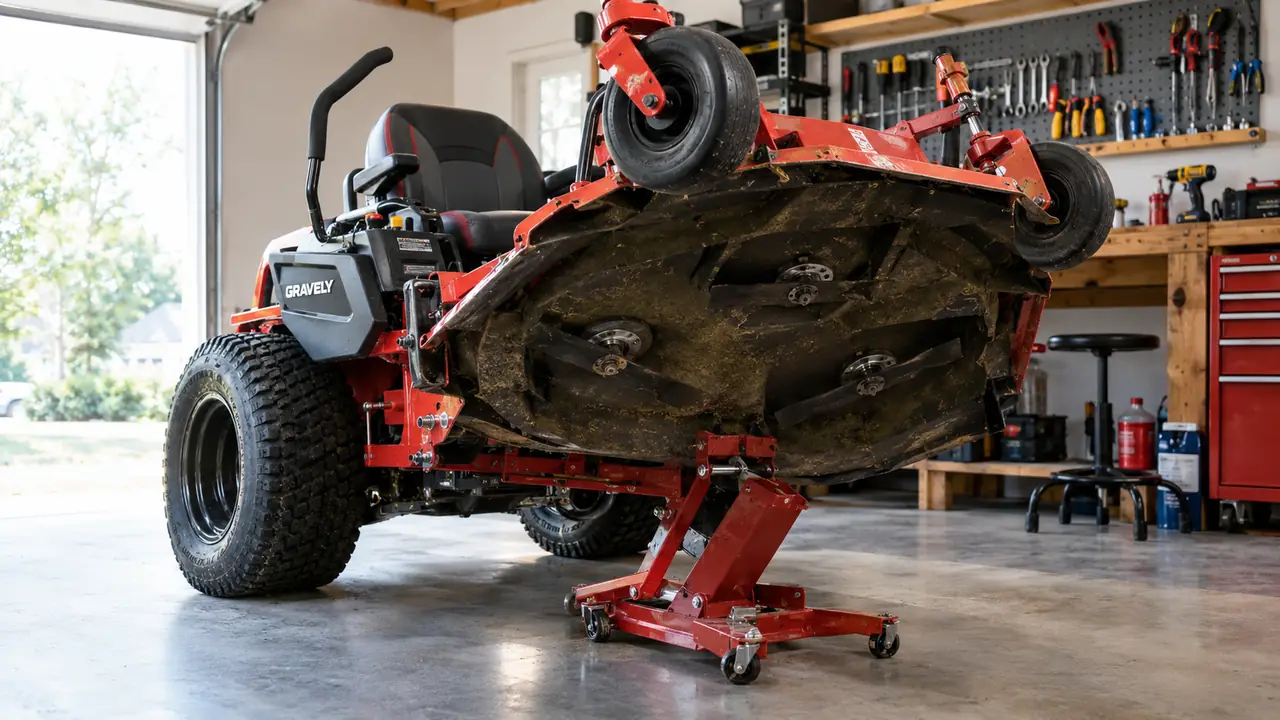
The belt is the part that leaves people stranded mid-mow. With the deck raised, I can see the whole belt path, which is something you simply cannot do with the mower on the ground. I look for cracks, frayed edges, and glazing on the sides. I also spin each idler pulley by hand. A rough or noisy idler means the bearing is on its way out, and it is a lot easier to replace an idler now than to explain to a customer why their deck stopped mid-pass.
If the belt needs to come off, the raised deck makes it a straightforward job. I release the tensioner, slide the belt off the pulleys, and route the new one following the diagram on the deck. I keep a spare belt on the shelf at home and one in the shop. They are not expensive, and the cost of not having one is a trip to the dealer on a Saturday afternoon. The last time I changed mine, the old belt had a crack running along the top edge that I could only see once the deck was up and the belt was off.
This is also the moment to check the deck itself. I scrape off built-up grass with a putty knife, then hit any bare metal with a little paint. Rust on the underside of a deck is what eventually eats through and turns a belt job into a deck replacement. Ten minutes with the deck raised will add years to the deck, and it is the kind of thing that only gets done when the underside is easy to reach.
Step 5: Reinstall the Blades, Lower, and Test
Reinstall the blades with the sharpened edge facing up, torque the bolts to spec, and give each one a spin by hand to make sure it clears the deck. I use a torque wrench for this. A loose blade bolt is a dangerous thing, and an over-torqued one will strip the spindle threads. The spec is usually printed in the owner's manual, and it is worth looking up.
Lower the jack slowly using the release lever, pull it out from under the mower, and do a visual check that nothing is hanging or rubbing. Then I start the mower and run it for a minute with the deck engaged, listening for vibration or a belt that is slapping. I also do a quick test pass on the lawn, cutting a strip and checking the quality of the cut. If the grass is torn instead of cleanly cut, the blades were not sharp enough or the deck is not level.
The whole routine, from chocks to test pass, takes me about 20 minutes on my own 54 inch zero turn. When I did this job the old way, with the mower tipped on its side and a block of wood under the frame, it took twice as long and left me sore for a day. The lift jack does not make me a better mechanic. It just makes the work worth doing, which means I actually do it on schedule instead of putting it off.
What Else Helps
A lift jack is the centerpiece, but a few other things make the job easier. A good impact wrench saves your wrists on stubborn blade bolts. A blade balancer is a ten dollar tool that prevents vibration problems. A grease gun with a flexible hose reaches spindles that are tucked up in the deck. And a flashlight with a magnetic base means you are not holding a light in your mouth while you work. None of these are fancy, but they all earn their spot on the bench.
If you are still tipping your mower to service the deck, I will tell you the same thing I tell customers at the counter: it works, right up until it does not. A zero turn is heavy, the center of gravity is high, and a tipped mower can leak oil, bend a spindle, or come down on you. The MoJack EZ MAX is rated for 450 lb, which covers my 54 inch residential mower and most of what rolls through the shop. It is the tool I recommend when someone asks what to buy first, before fancy tools or a bigger toolbox.
The lift jack does not make me a better mechanic. It just makes the work worth doing, which means I actually do it on schedule instead of putting it off.
Do the job once, the right way
If you are tired of tipping your mower and crawling underneath it, the MoJack EZ MAX is the fix. It is the same lift I use on the shop floor, and it has earned a permanent spot in my garage at home.
Amazon Check Today's Price on Amazon →